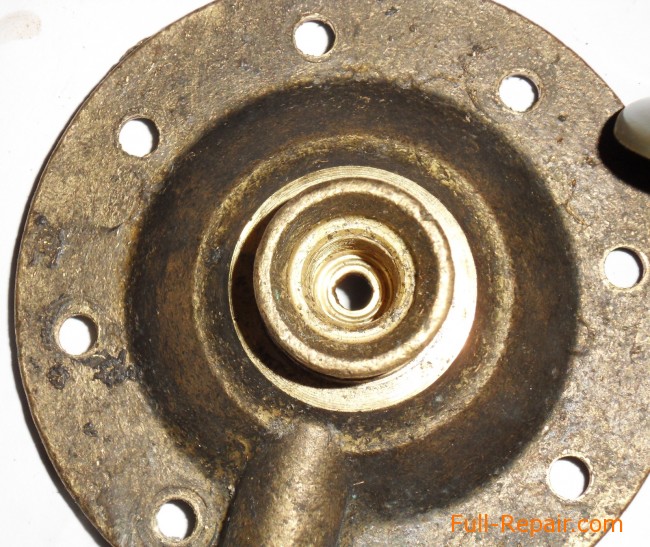
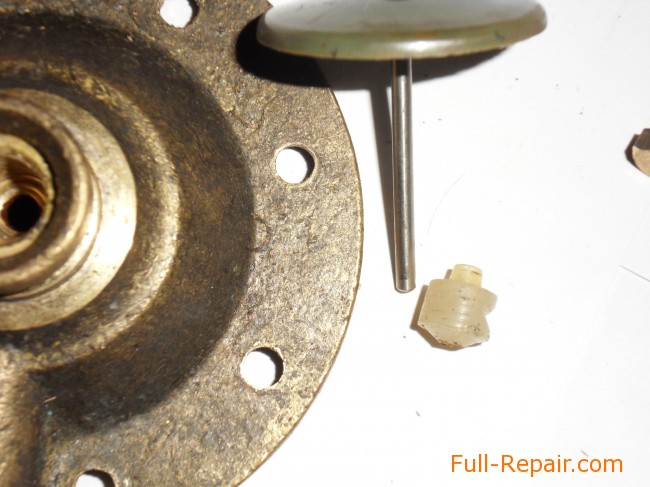
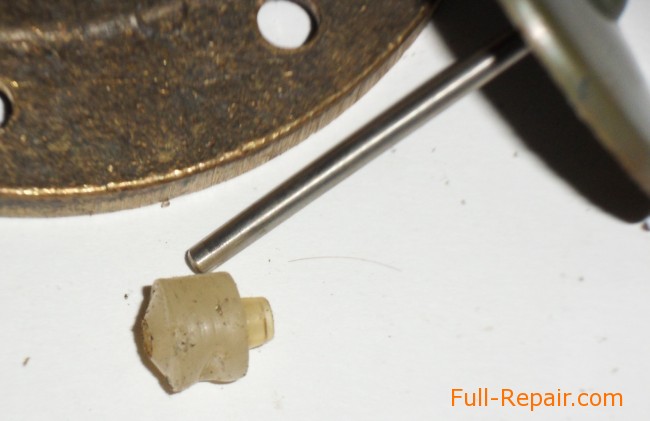
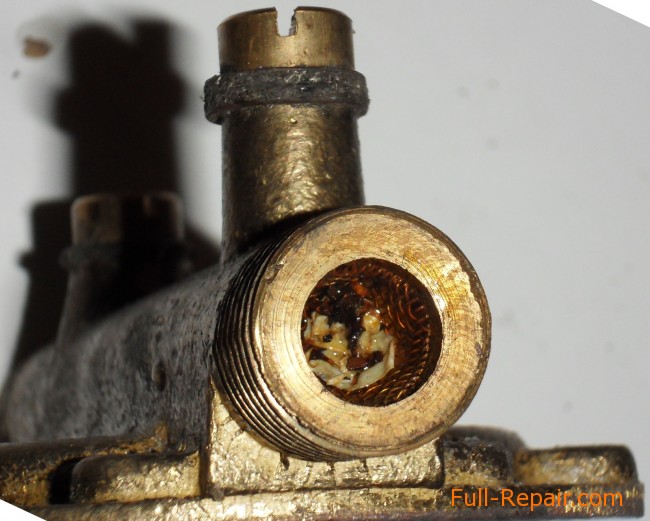
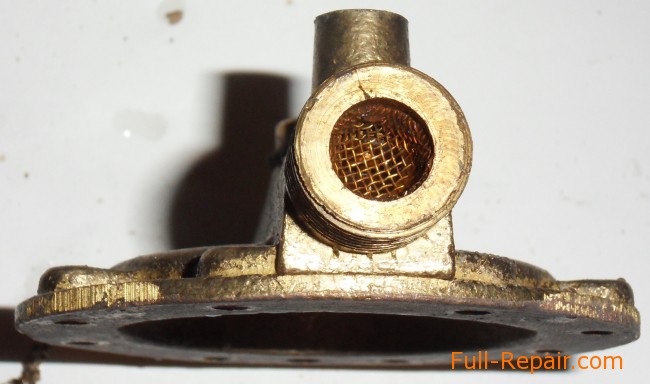
The lower part of the inlet has a strainer that is clogged. Just remove the dirt.
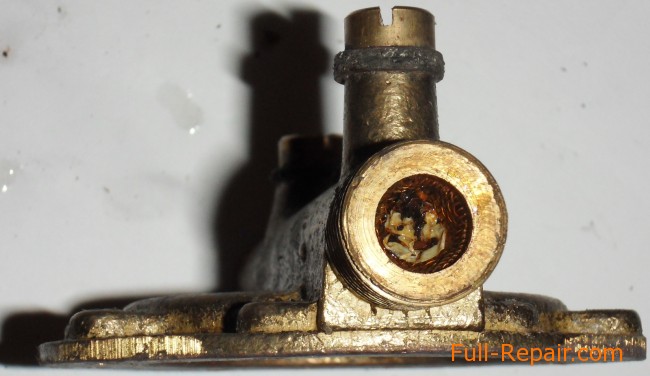
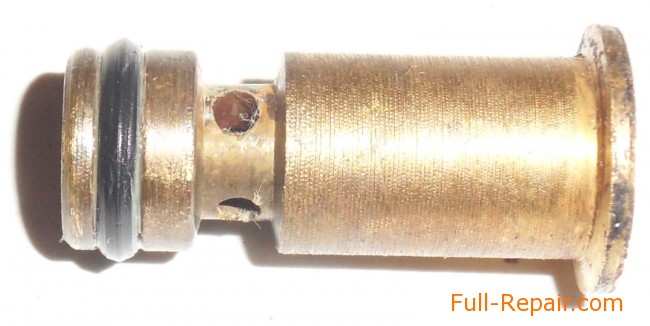
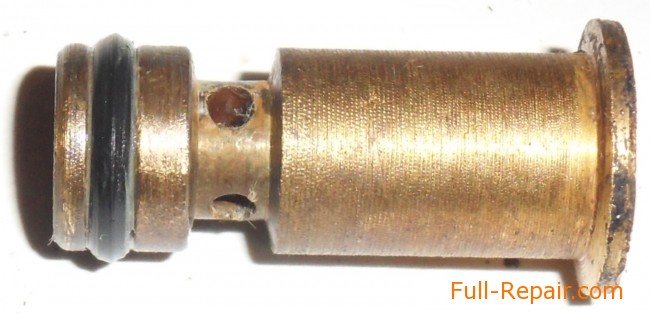
At the outlet bottom part is arranged Venturi tube through which a pressure differential is created in the two chambers of the water site.
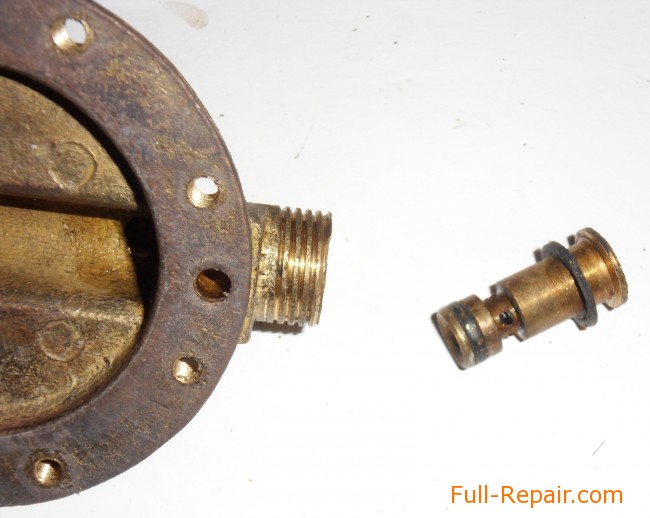
Replace gaskets and install the item on the spot.
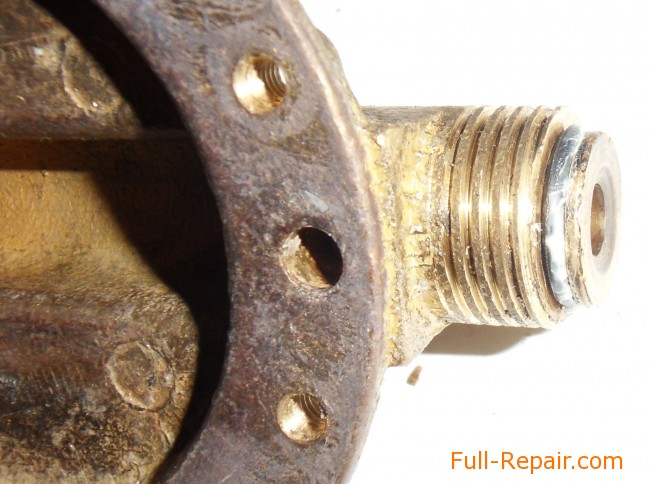
Next, replace the small ball at the top. The original metal and rusty in Repair Kit-plastic.
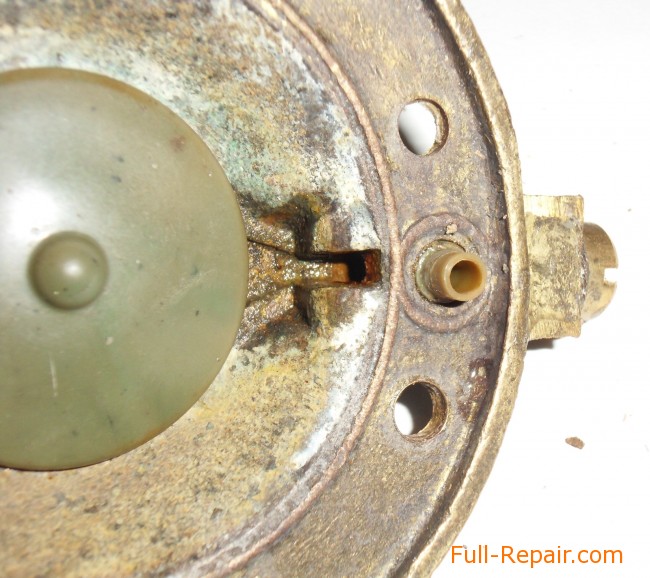
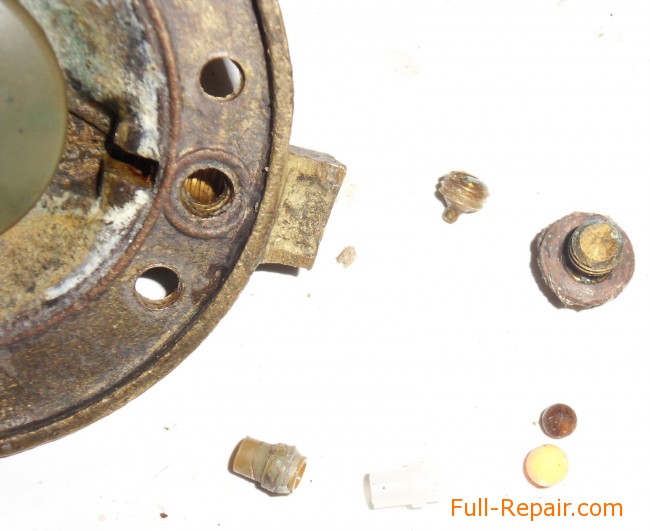
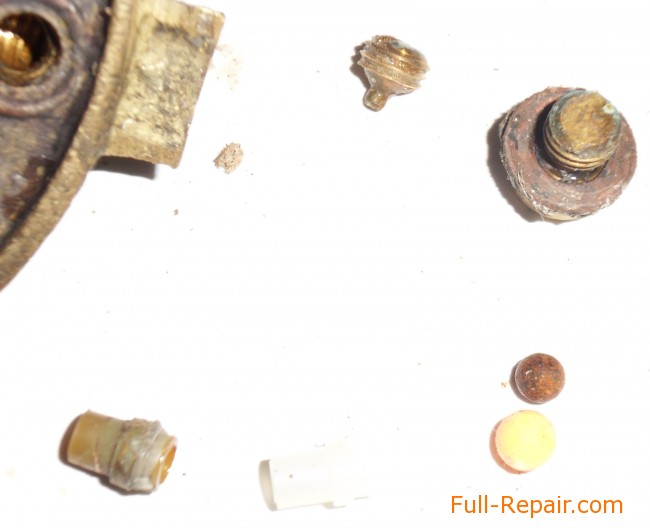
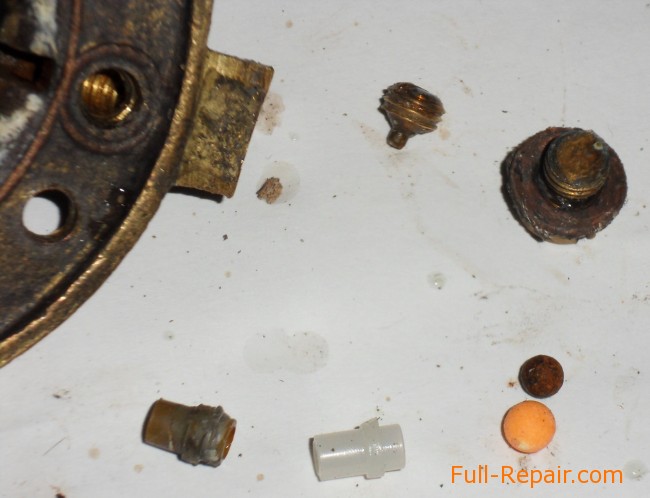
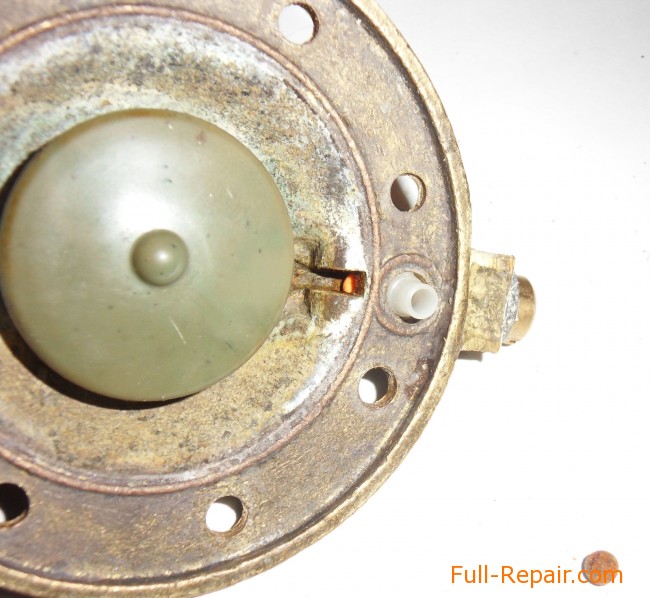
It remains to collect water from the site of the new membrane. Thought in Repair Kit is silicone membrane, so did not buy it separately, and there was an ordinary, so we will put the ordinary. But I recommend taking a silicone.
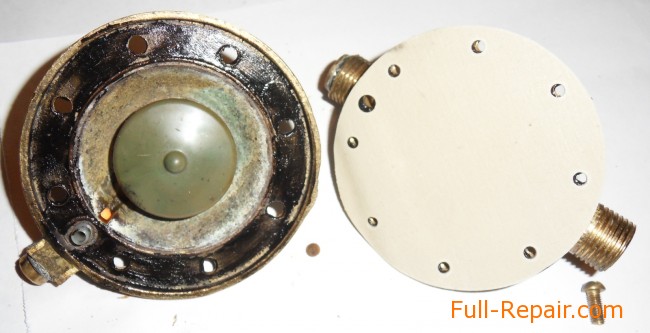
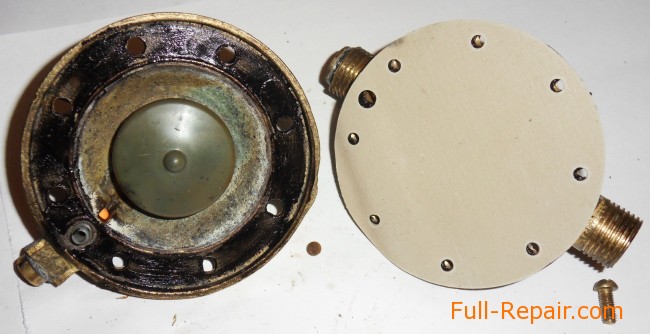
Since the membrane itself is not very smooth and brass parts, too, that I have applied sealant. Connect parts and twirl the fixing screws.
Now we install a water unit in place, open riser and look nowhere flowed.
After replacement of the column became a fully reliable service. Time is switched on and goes out almost immediately after turning off the water.
 Full-Repair.com