I'm sorry for not perfect english. In time I'll do a good quality translate. If you could not get anything please feel free to contact me in comments. I will answer you as soon as possible.
Some of the calculator buttons stopped working.
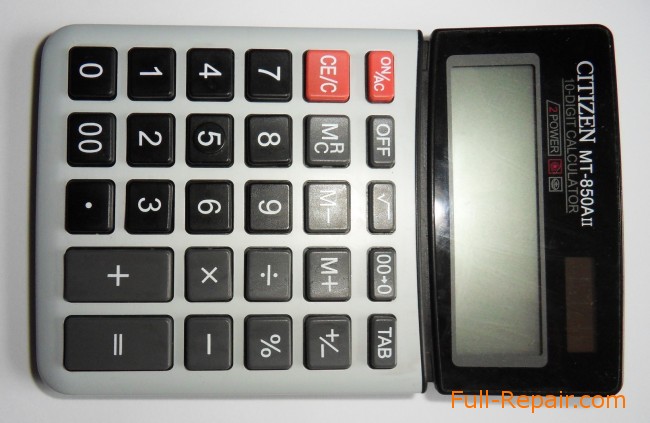
Open the calculator and see what's inside. This will help us determine the cause of malfunction buttons.
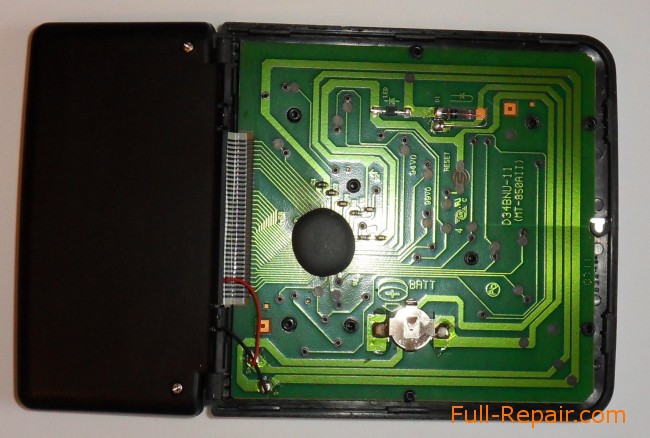
Due to unknown circumstances, cracked internal card, but the copper tracks intact. Remove the PCB.
It rests on the plastic rivets. They will have to carefully cut, then you can take charge.
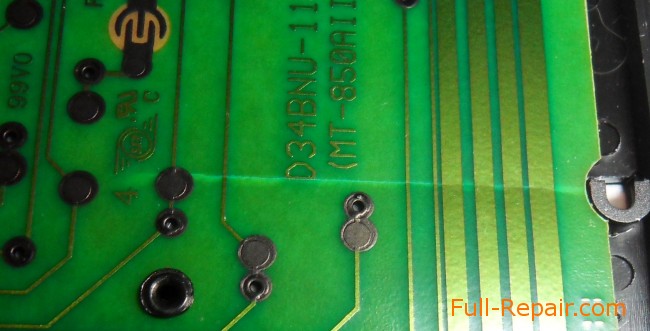
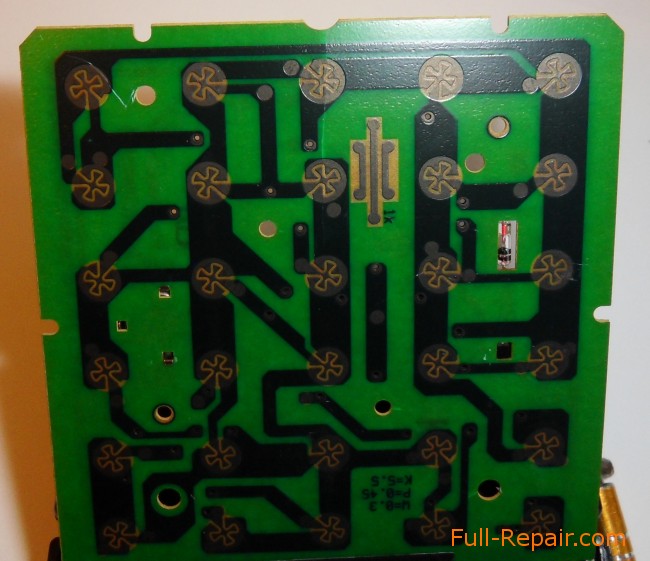
Clearly, graphite damaged track. Tester will check them to make sure that they break.
Convinced-you can start to repair.
Their major drawback is that to them nothing to solder. Or are there ways?
In any case, you need to clean up areas near the damaged areas.
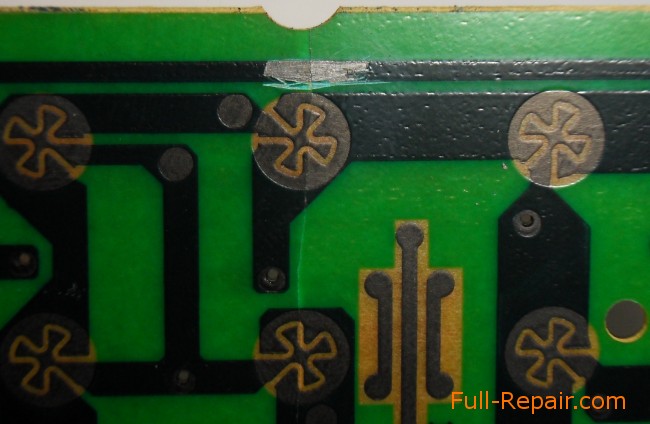
It will help conductive adhesive that is, but no one knows where. Therefore it is necessary to build a replacement from scrap materials.
The first experiments with a mixture of cyanoacrylate (superglue) with graphite powder were unsuccessful. As the glue mixture turned great, but as a conductor-no. Let's leave out the excess and move on to a successful option.
Composition: aluminum dust, graphite powder, a solvent adhesive.
Technology: rub the aluminum and graphite, put it in a small container, pour a few drops of solvent, stir, add a small drop of glue or varnish.
In this example, applied varnish, but it does not matter.
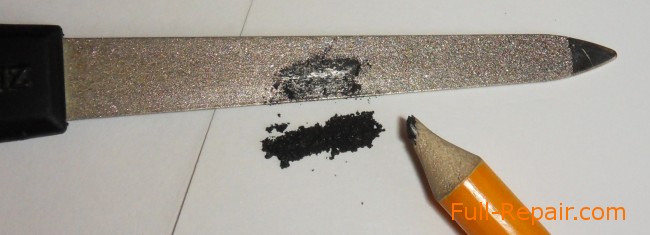
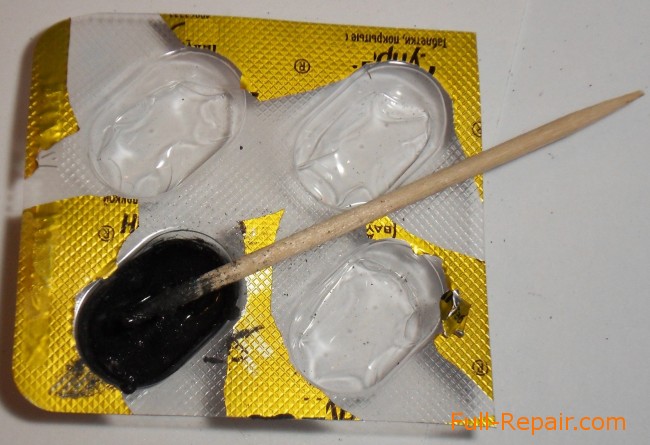
The resulting mixture of close up bare areas around the damage, wait until it has check the serviceability calculator.
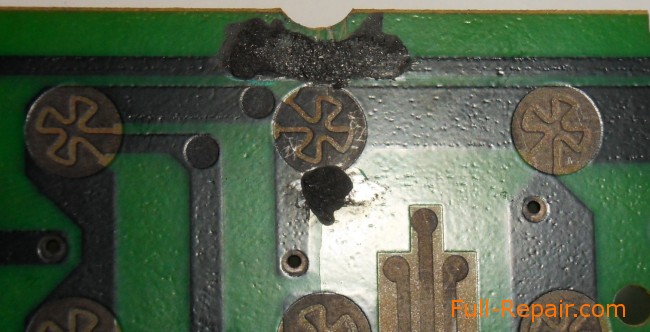
If everything is working again and not have to redo, then cover the resulting lacquer wires so they do not crumble, because there is a bit of glue, mainly graphite and aluminum.
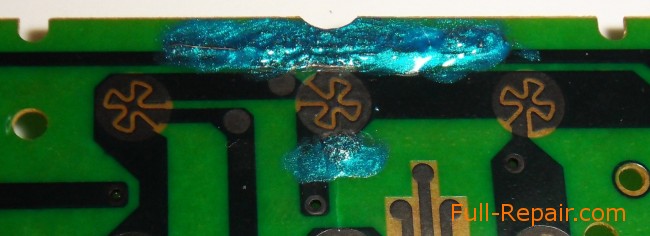
It did not work the first time. The top track damaged, otkovyrivaya "failed experiments", so for better conductivity had to glue the thin copper wiring along the renovated section. The contours of the wiring visible, especially on the left.
We dry lacquer, once again check whether all the keys are working and are in place (the photos taken to help parsing), and then collect the calculator. If the plastic tabs are missing and board hanging inside, you can use small rivets instead of screws, or stupid piece of paper to fill the void. In this case, it's not needed, building a calculator is not allowed to move within the board, holding her tightly.
 Full-Repair.com