I'm sorry for not perfect english. In time I'll do a good quality translate. If you could not get anything please feel free to contact me in comments. I will answer you as soon as possible.
Modern systems slatted ceilings can be seen in various public places, cafes and bars, swimming pools and gyms, hotels, offices, kitchens, porches, and in bathrooms and toilets. The increased popularity of suspended ceilings means that consumers have appreciated their performance properties and aesthetic appearance. The advantages of this model, the roof ceilings are:
- wide range of colors for use in a variety of interiors.
- speed of installation and simplicity of the device suspended ceilings.
- durability and ease of care ready ceilings.
- relatively low cost and high quality performance.
The special features of suspended ceilings must be attributed to the need for installation of the entire system from 5 to 10 inches from the height of the room that you need to consider when developing your design project.
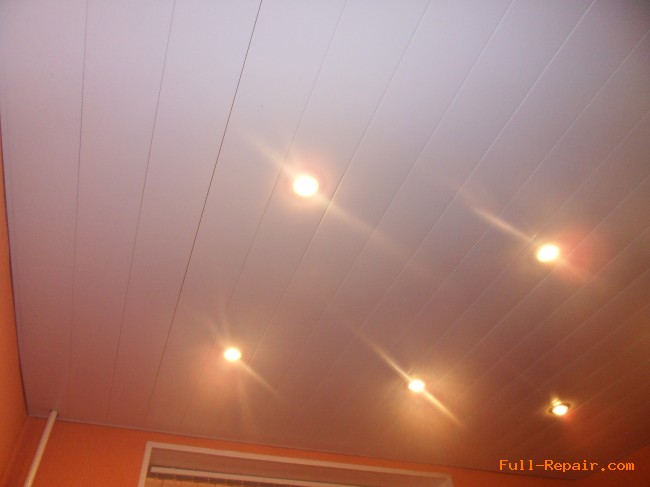
Tools and materials needed to install rack ceiling
Being suspended by the method of attachment, rack ceilings consist of a system of ceiling mounts and rack panels, which may differ in material used for manufacturing (steel, plastic, aluminum), as well as the size of slats (thickness from 0.4 to 0.8 mm , width from 50 to 300 mm, length of 2.5 to 6 meters). The face surface of rack panels, in addition to a variety of colors may be different in structure, it can be smooth, with a glossy or matte finish, with a perforated pattern imitating wood or leather structure. Due to the fact that different manufacturers use different mechanisms of slot latches, materials for installation of this type of ceiling are sold in a set of the following:
- Stringer (other names: traverse, support rail), a galvanized steel strip with special grooves for mounting rails.
- Ceiling Mounts (or suspension) for fixing the stringer to the base ceiling, also serves as the adjustment of the height of the support rail.
- directly rack panels secured to stringer snap into the groove when pressed.
- Corner profile, are mounted around the perimeter of the ceiling and needed to close the joints of decorative panels and walls of the room.
- Punch (for attaching hangers to the ceiling) and the screwdriver (to tighten the screws on the stringer).
- self-tapping screws and dowels.
- Roulette and gidrouroven.
- knife and scissors for cutting metal.
procedure self-assembly of the slatted ceiling panels
After preparation of the necessary tools and buying the right amount of material for the rack system, work can begin by marking the height of the ceiling and mounting angle profile plugs. With partitioning is performed using an instrument to measure the level around the perimeter of the room, the distance between the markings intended to attach the stringers should be about 120 cm (first stringer mounted 30 inches from the wall). After partitioning the support rails reinforced parallel fashion over the entire area with ceiling suspension, located between themselves at a distance of 120 cm
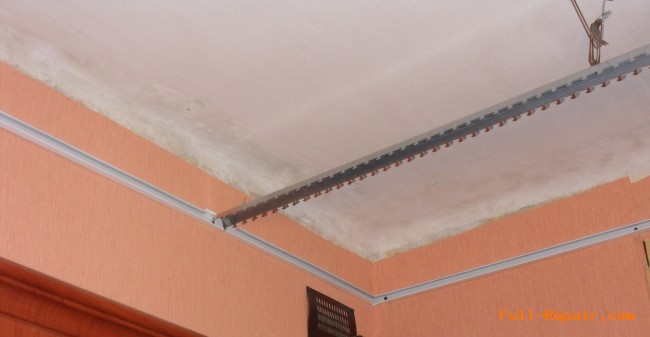
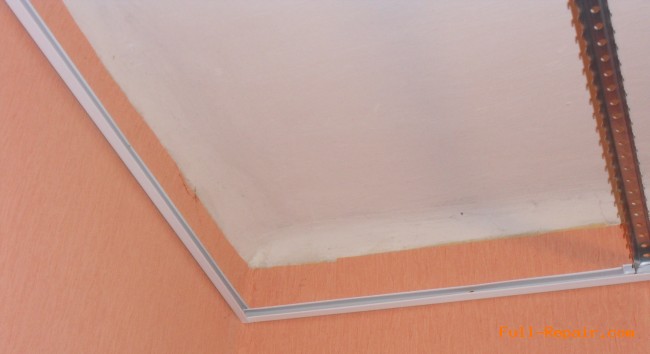
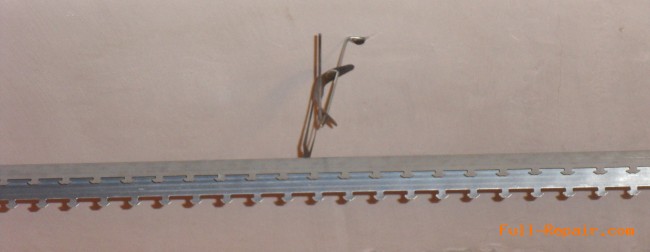
Installing fasteners, proceed to the cutting and assembly of the panel. The length of the cut strips should be 0.5-1 cm shorter than the distance between the walls, across which they are to be installed. When mounting the ends of rack panels are placed in special cavities angular profile, mounted on opposite walls.
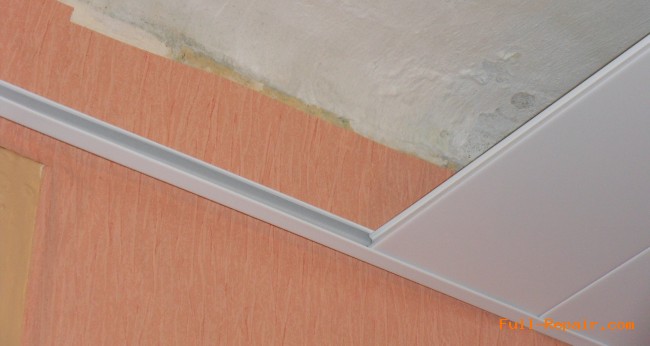
Panel by pressing lined up to snap into the slots located on the steel stringers. In the same way gradually covers the entire surface of the main ceiling, and the latest in a series of panel and if you want to cut to the width. An incision is made with a knife on a pre-marked-up line, and repeated bending, provides separation of unnecessary parts.
With regard to the dock panels together, here you have two options. Option One - gapless installation in which panels are mounted close to each other, forming a flat surface. Option two is that when you install panels between them Leave a space of 14-16 mm, which are then inserted into decorative slats, giving the ceiling a finished look.
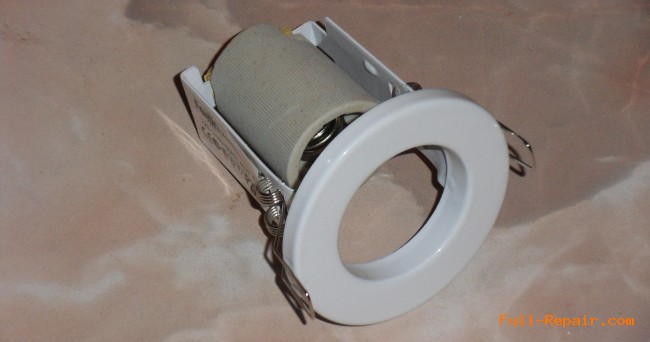
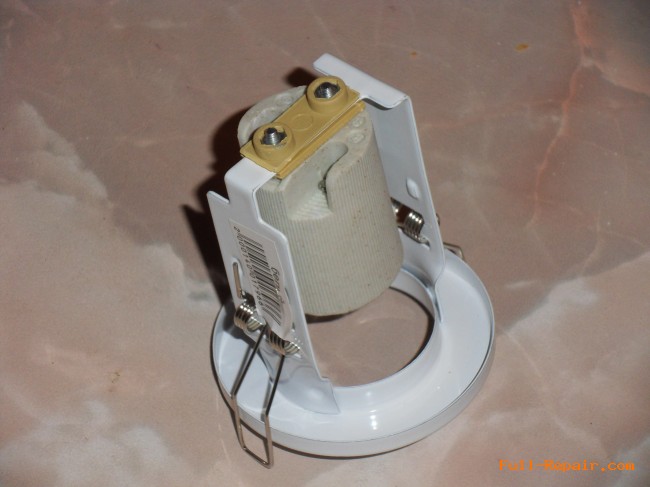
When installing a suspended ceiling rack type need to think of ways the coverage area, as mounted lights and pull the wiring much easier during installation. Properly mounted rack ceiling right color and texture solutions are easy to use and will be a good addition to any interior.

All photos for the article
 Full-Repair.com