I'm sorry for not perfect english. In time I'll do a good quality translate. If you could not get anything please feel free to contact me in comments. I will answer you as soon as possible.
We have a cylinder head with new guides, deployed under the new valve and the valve itself, is also new. The contact surfaces are smooth, beautiful, but we need to make them perfectly tight.
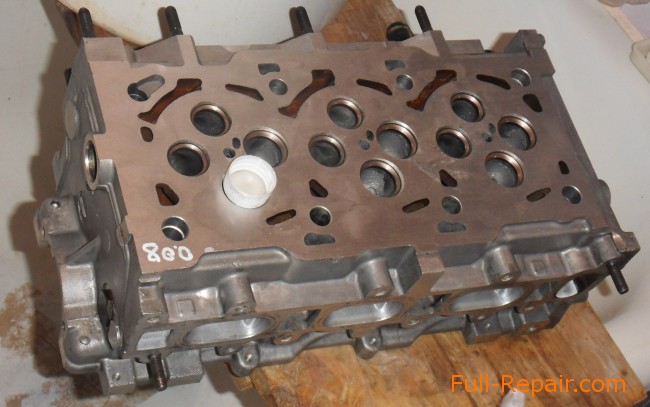
start lap
To inflict lapping the valve a little lapping compound and insert the valve into place. Be careful not to spill lapping compound on the contact surface of the valve and the guide sleeve. If this happens-do not worry, dry the surface and continue.
For the first stage grinding was used electric torque device. The valve dressed plastic hose, for which the valve and turned in pressed state.
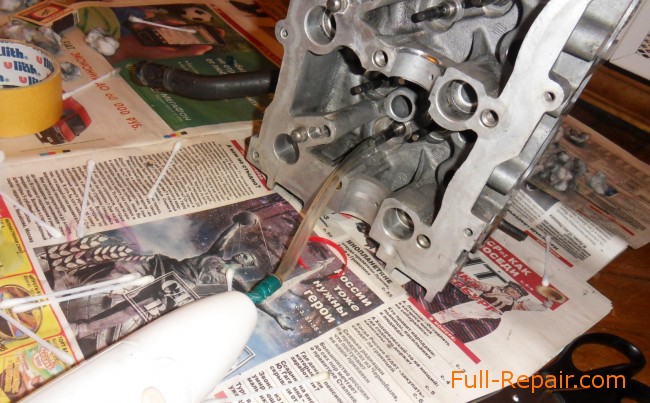
Of this method on the valves and saddles can form a circular groove, so do not pereuserdstvuem, and with patience you can generally skip this step and proceed to the lapping manually.
Lapping hands
Again put on the surface of the grind paste, put the valve in place, glue to the flat surface of the valve "handle" on the double sided tape, glue or whatever. So that it can be this handle to twist. You can use the same hose that was in the first stage and a twist valve for its thin part. Can and hands, but very uncomfortable.
Begin to turn the valve to the right and to the left of 30-50 degrees, 10-20 times, then turn the valve to any angle and repeat the rotation to the right and left. How to get bored-take out the valve, wipe it, saddle too and look what happened. If the contact surface was uniformly dull, it will be enough, if not, repeat the operation.
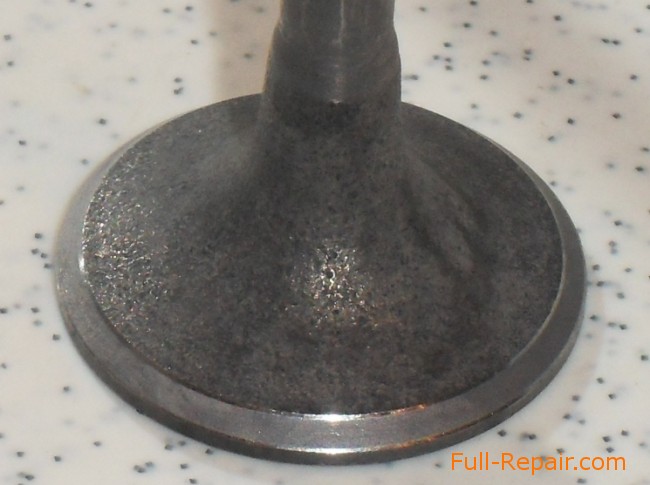
lapping to a mirror finish
The third stage of grinding. Heard that is especially important for diesel engines, but I think that any engine will not prevent leaks and increase the heat from the valves. Instead of lapping compound using a paste GOI and very small droplet of oil (not flowed). Crumble green paste clings to the valve and start rubbing, as in the previous step. When the matte surface is shiny-will suffice.
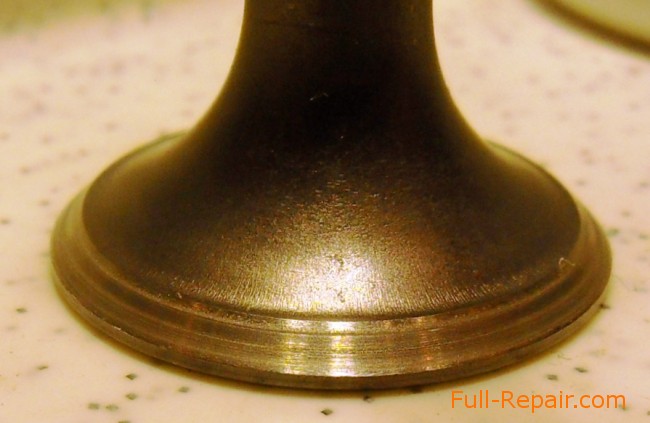
Priterli one valve-dry wipe that neither the valve nor the saddle is left lapping pastes, put the valve in place and something to fix it. For example, a piece of suitable size plastic tube, dressed to the valve.
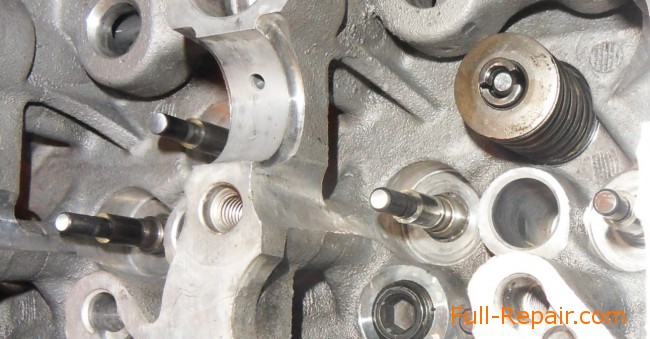
You can simply mark the valve, then to put everyone to the place where he was stoppered. And you can immediately collect, more on that below.
The attentive reader will notice that the pictures are different valve (intake and exhaust), because the photos are not as good as the eye can see, when you hold the valve in his hands. Chose two of the most successful photographs that best reflect reality.
Setting valves
All valves have lapped, now they need to put into place and lock. Here's how: dress gland (the valve stem cap), put a spring valve disk and install locks (crackers) in a similar removal of valves method.
leak test
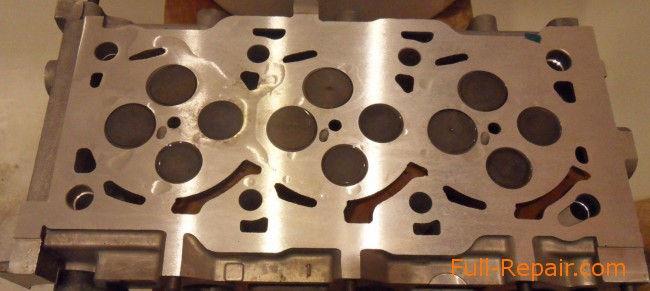
After installing the valve cylinder head put on a flat surface and pour kerosene on the valve or something like that. Around the valve has a small groove at which leaks can be determined. If within some few minutes desolate groove means to remove the valve and continue grinding the valve. I had to redo a couple. All valves must hold at least a few minutes.
Cars, which used the same intake (22211-27001) and discharge (22212-27001) Valve:
- HYUNDAI ACCENT [BG]
- HYUNDAI ACCENT [LC]
- HYUNDAI ELANTRA [CA]
- HYUNDAI ELANTRA [CG]
- HYUNDAI
- HYUNDAI GETZ [BJ]
- HYUNDAI GRANDEUR [EL]
- HYUNDAI GRANDEUR [TG]
- HYUNDAI I30 [JD]
- HYUNDAI MATRIX [BE]
- HYUNDAI SANTA FE [BB]
- HYUNDAI SANTA FE [BM]
- HYUNDAI SANTA FE [CM]
- HYUNDAI SONATA [EK]
- HYUNDAI SONATA [ER]
- HYUNDAI SONATA [NF]
- HYUNDAI TRAJET [EC]
- HYUNDAI TRAJET [FO]
- HYUNDAI TUCSON [BH]
- HYUNDAI TUCSON [JM]
- KIA CARENS [BK]
- KIA CARENS [UN]
- KIA CEED [ED]
- KIA CERATO [CD]
- KIA MAGENTIS [DD]
- KIA OPTIMA/MAGENTIS [MG]
- KIA SPORTAGE [FQ]
Cars, which used the same engine (1.5 CRDI D3EA, 3 cylinder) and the same cylinder head:
- HYUNDAI Accent
- HYUNDAI Getz
- HYUNDAI Matrix
Cars, which used the same engine (2.0 CRDI D4EA, 4 cylinders)
- HYUNDAI SANTA FE
- HYUNDAI TRAJET
- HYUNDAI TUCSON
- KIA CERATO
- KIA SPORTAGE
 Full-Repair.com